ILLA Builder is an open-source low-code development tool that allows developers to quickly build internal tools. ILLA lets developers focus more on the core functionality of the tools they are building and spend less time on websites and integrations.
Deploying a Marketplace App
The Linode Marketplace allows you to easily deploy software on a Compute Instance using the Cloud Manager. See Get Started with Marketplace Apps for complete steps.
- Log in to the Cloud Manager and select the Marketplace link from the left navigation menu. This displays the Linode Create page with the Marketplace tab pre-selected.
- Under the Select App section, select the app you would like to deploy.
- Complete the form by following the steps and advice within the Creating a Compute Instance guide. Depending on the Marketplace App you selected, there may be additional configuration options available. See the Configuration Options section below for compatible distributions, recommended plans, and any additional configuration options available for this Marketplace App.
- Click the Create Linode button. Once the Compute Instance has been provisioned and has fully powered on, wait for the software installation to complete. If the instance is powered off or restarted before this time, the software installation will likely fail.
- To verify that the app has been fully installed, see Get Started with Marketplace Apps > Verify Installation. Once installed, follow the instructions within the Getting Started After Deployment section to access the application and start using it.
Estimated deployment time: ILLA Builder should be fully installed within 5-10 minutes after the Compute Instance has finished provisioning.
- Supported distributions: Ubuntu 22.04 LTS, Ubuntu 20.04 LTS
- Recommended minimum plan: We recommend a 4GB Dedicated CPU or Shared Compute instance for ILLA Builder.
ILLA Options
- Postgres Password (required): Provide a secure password for the postgres database.
- ILLA Builder Port (default: “80”): The port that is used for the HTTP site. If you’d like to use a non-standard web port, enter it here.
Getting Started After Deployment
Accessing the ILLA Builder
- Open your web browser and navigate to
http://[ip-address], where [ip-address] is your Compute Instance’s IPv4 address or default rDNS domain. See the Managing IP Addresses guide for information on viewing IP addresses. If you specified a port other than port 80, append:[port]to the URL, replacing [port] with your custom port number. - In the login page that is displayed, click the Create Account button if this is your first time accessing the app.
- The sign up page should open, which allows you to create a new user on this ILLA Builder deployment. Enter your preferred username, your email address, and a secure password. Then, click the Create Account button.
- After creating your account or logging in with an existing user, the dashboard is displayed.
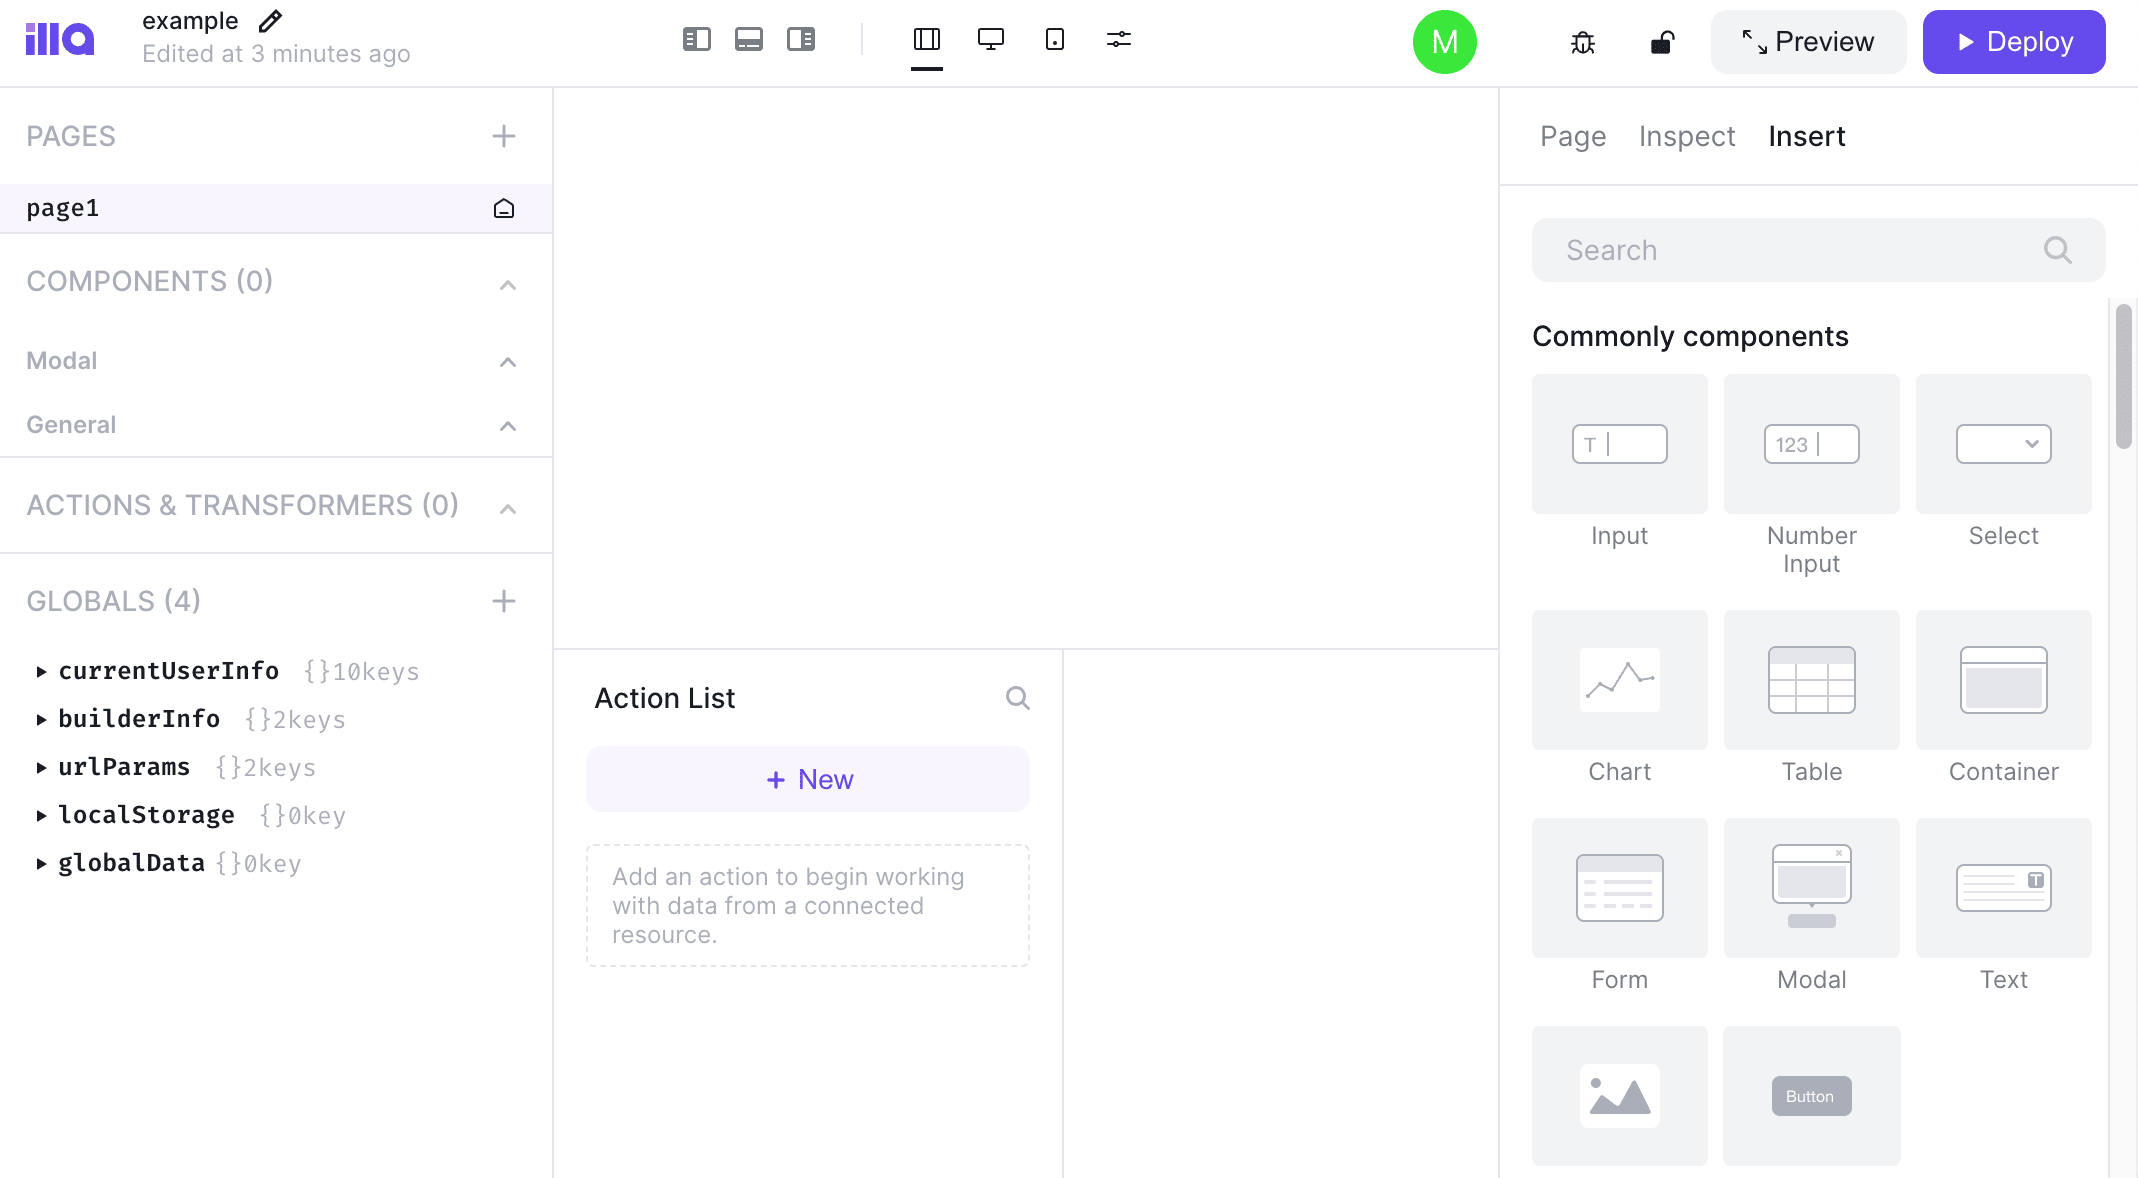
- To get started with a new app, click the Create New button and enter a name for the app. The app builder screen is displayed, allowing you to customize and deploy your application.
- For additional guidance on using ILLA Builder, please see the official documentation.


The ILLA Builder Marketplace app was built for Linode by ILLA. For support regarding app deployment, contact Linode Support. For support regarding the tool or software itself, use the information in the sidebar or start a discussion via ILLA’s GitHub.


